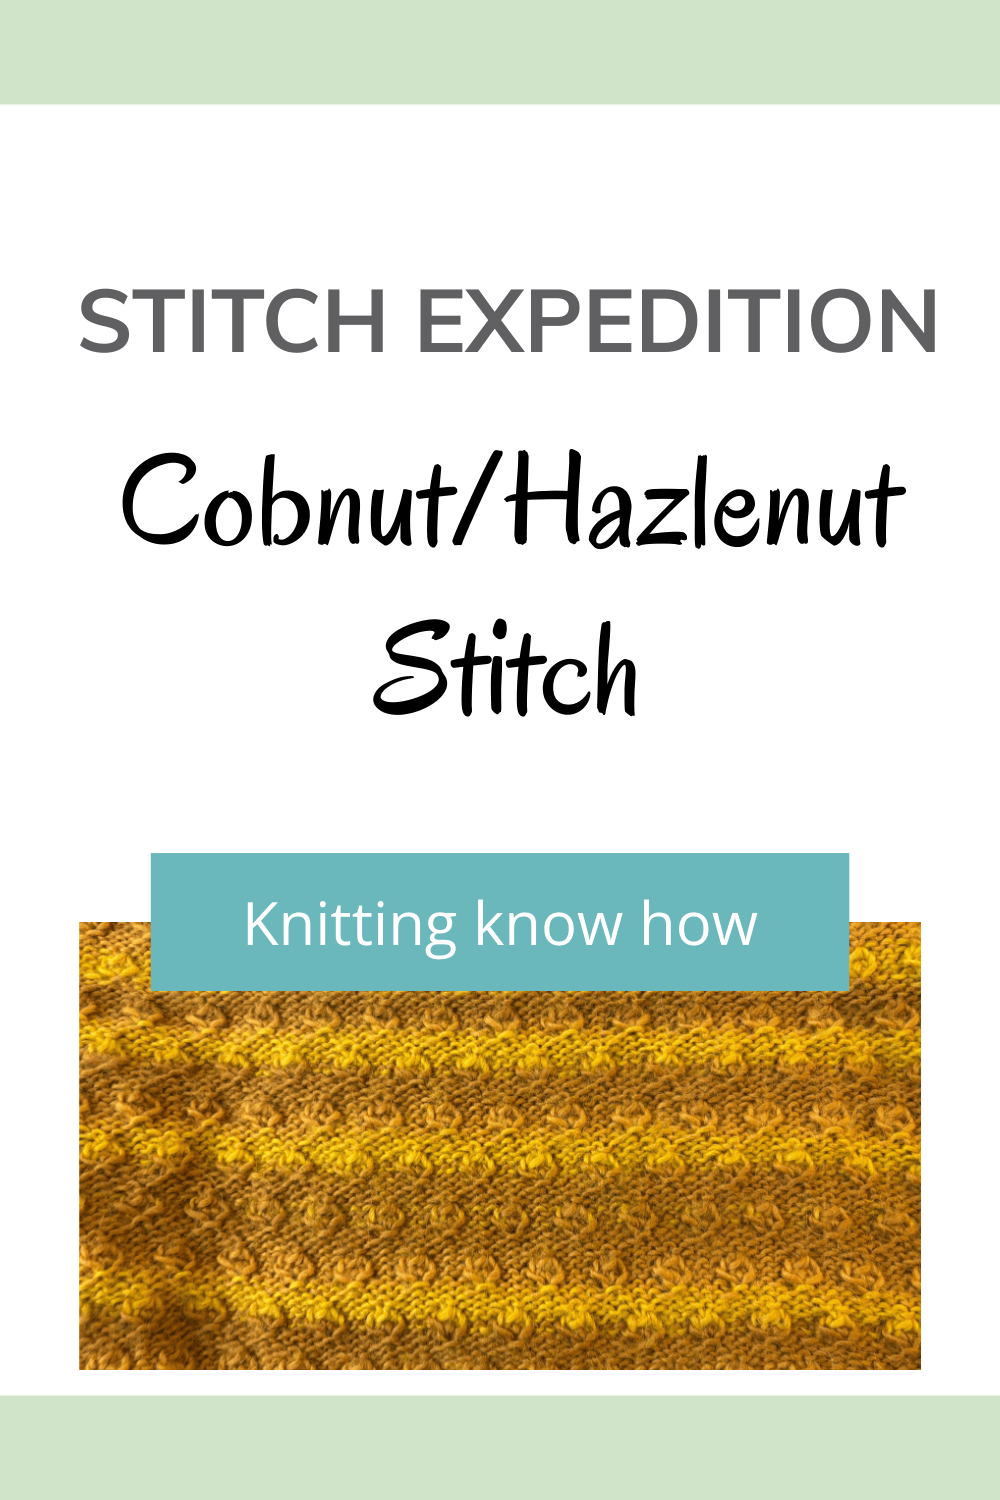
Stitch Expedition: Cobnut Stitch (Hazelnut Stitch) — How to Knit It + Ideas for Using It
A Stitch Expedition?
If you love easy textured stitches that feel a bit nature-inspired, Cobnut Stitch (otherwise known as Hazelnut Stitch) might be right up your street. Not just a quick how to, in this Stitch Expedition we’re going on a deep dive: how the stitch is worked, how it behaves, what changes when you work it in the round , as a panel, or a seamed project. I also discuss ways to get creatively play around with this stitch pattern, and how you might use it in your own knits.
Watch the video tutorial here:
What is Cobnut (Hazelnut) Stitch?
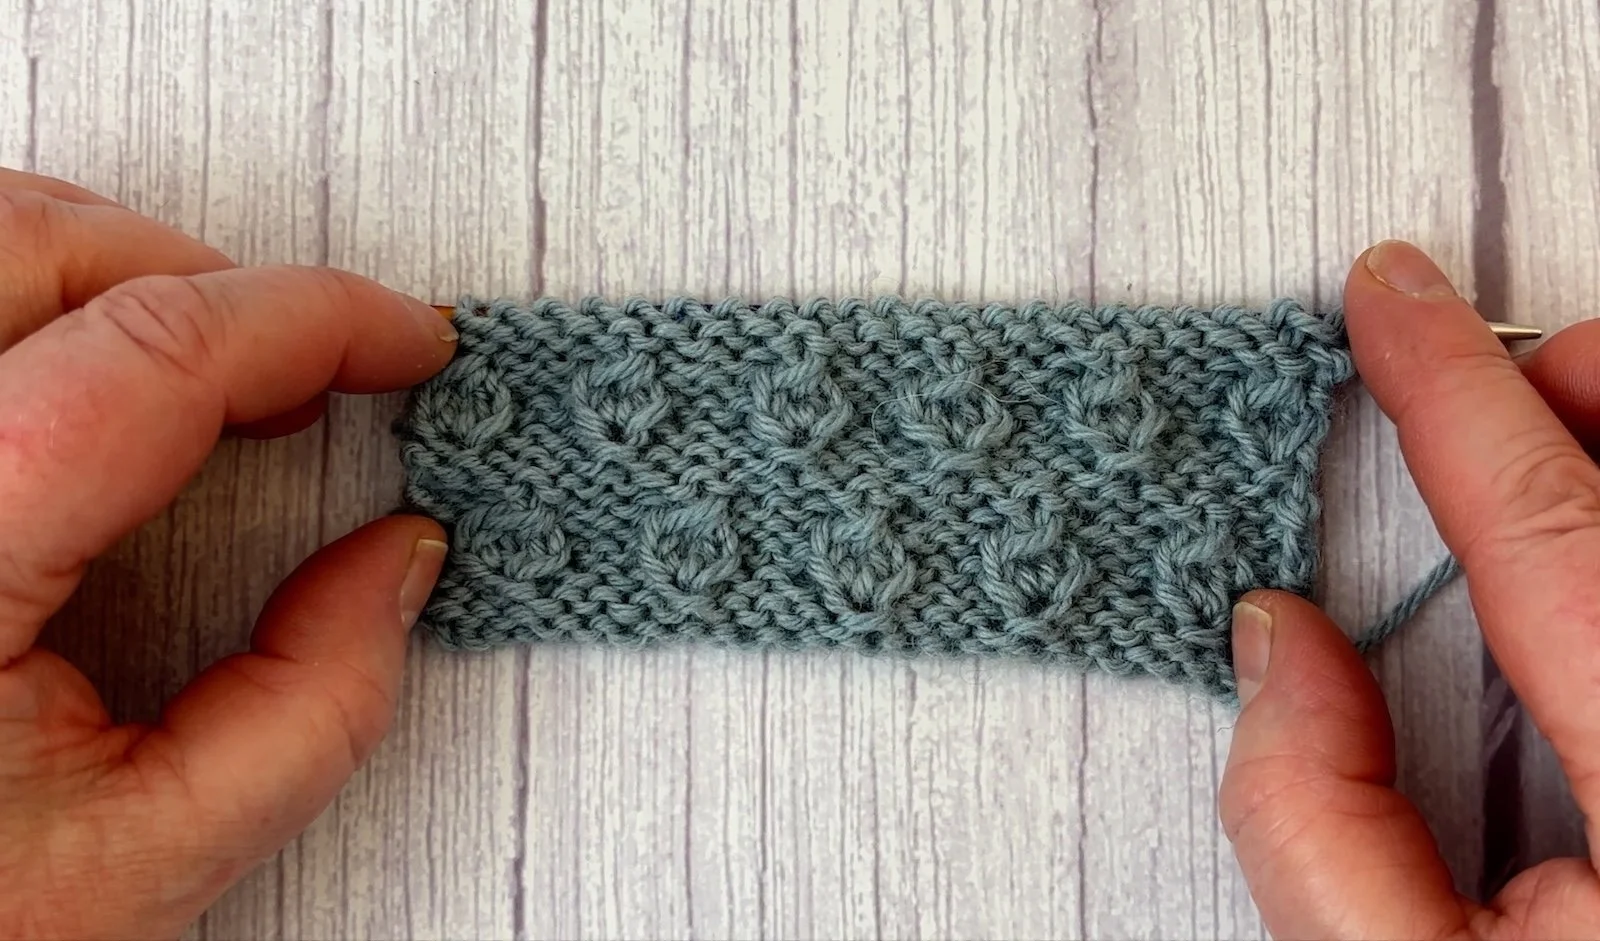
Cobnut Stitch (often called Hazelnut Stitch) is worked over a reverse stocking stitch (stockinette) background, with rows of little raised “cobnuts” that sit along the right side of the knitted fabric. They’re created with a small yarn over increase into one stitch, then a few “straight” rows, before working a row of decreases to gather the ‘nuts’ back in — so it’s not quite a bobble, more a flatter, clustered texture.
A few quick fabric notes:
It doesn’t produce a reversible fabric, but the wrong side isn’t unattractive either — which makes it a nice candidate for things like cowls, scarves and other items that may expose the wrong side when worn.
The repeat is small (4 stitches), which makes it very versatile for different widths/sizes.
The cobnuts sit in staggered rows, which gives it that pleasing “scattered” look.
How to knit Cobnut Stitch (worked flat)
To knit up a practice swatch:
Use whatever you’ve got to hand, but here’s what I used in the video:
Double knitting (DK) yarn
4mm needles
A bit of patience for the “p3tog” moment until your fingers get used to it 😄
Abbreviations
k = knit
p = purl
yo = yarn over (or yarn forward if you knit English style)
p3tog = purl 3 together
Set-up
Work 2 rows of reverse stocking stitch:
RS: purl across
WS: knit across
12-row repeat (flat, as shown in the video swatch)
Cast on 23 sts (or any multiple of 4 + 3sts)
Rows 1–6 (first cobnut row set):
Row 1 (RS): *P3, (k1, yo, k1) into next st, rep from * to last 3 sts, p3.
Row 2: K3, *p3, k3, rep from * to end.
Row 3: *P3, k3, rep from * to last 3sts, p3.
Row 4: K3, *p3tog, k3, rep from * to end.
Row 5: Purl.
Row 6: Knit.
Rows 7–12 (staggered cobnut row set):
Row 7: P1, *(k1, yo, k1) into next st, p3, rep from * to last 2 sts, k1, yo, k1) into next st, p1.
Row 8: K1, *p3, k3, rep from * to last 4 sts, p3, k1.
Row 9: *P1, k3, p3, rep from * to last 4sts, K3, p1.
Row 10: K1 *p3tog, k3, rep from * to last 4 sts, p3tog, k1.
Row 11: Purl.
Row 12: Knit.
Tip for p3tog: If it feels fiddly, lightly pinch the fabric just under the stitches to open things up and make it easier to get your needle through all three.
Working Cobnut Stitch in the round (what changes?)
When you knit in the round, the right side is always facing you, so your approach changes slightly:
Reverse stocking stitch in the round means you’ll be purling all your background rounds.
The cobnuts are worked using knit stitches (including the decrease round, where you’ll k3tog instead of p3tog, because you’ll always be working on the right side).
How many stitches do I need?
Cobnut Stitch essentially starts with a multiple of 4 sts (3 background sts to one cobnut stitch”). But depending on how you’re placing it, you may want extra stitches for the best finish:
In the round: multiple of 4 (no extra stitches needed).
Flat, centred panel (symmetrical): multiple of 4 + 3.
Flat and seamed (so the pattern matches at the seam): multiple of 4 + 2 — those “extra” edge stitches effectively disappear into the seam allowance while keeping the pattern continuous.
It’s important to note the number of stitches increases (by 2 sts per cobnut) after you work the increases on row 1 & 7, then decrease back down again after the cobnut is completed on rows 4 and 10.
How Cobnut Stitch affects Gauge/Tension
Textured stitches often behave differently from plain stocking (stockinette) stitch — and Cobnut Stitch is no exception.
In my swatch on DK with 4mm needles, I found it came out a bit looser in stitch gauge and slightly shorter in row gauge than my usual tension (after blocking). This may differ for you and for different needles and materials, so I really do recommend swatching unless size or fit really doesn’t matter for your project.
Creative ways to play with Cobnut Stitch
Once you understand how it works, there is plenty of scope for experimenting creatively with this stitch:
Scale it up or down: try it in chunky yarn for bold texture, or in 4-ply/fingering for a more delicate and finer feel.
Change the spacing: add extra reverse-stocking stitch rows between cobnut rows to vertically spread out the rows of cobnuts.
Change the interval between cobnuts: what happens if you try 5 background stitches between cobnuts instead of 3? (You’ll need to keep it an odd number and to plan carefully to keep the stagger working neatly between rows of cobnuts).
Big up your nuts!: (sorry, I just couldn’t resist!) - you can experiment with larger “nuts” (at that point you’re wandering toward bobble territory, but it could be fun and have some pleasing results).
Ideas for adding Cobnut stitch it into your projects and designs
Here are a few suggestions - I bet you have some more ideas too?:
A central panel on a sweater or cardigan front, or up the middle of a sleeve
A scarf
A band/border at a hem, cuff or yoke section (one row of cobnuts can add decorative interest to an otherwise plain knit, either on it’s own or sandwiched between bands of another decorative stitch. You can have thicker cobnut stitch bands, but may be best to odd numbers of rows for balance with the staggered pattern).
Dramatic textured cuffs (tipped to be a trend in AW 2026) could we worked in cobnut stitch
Smaller items such as cowls, mitts, hats etc are possible due to the small stitch number of pattern repeats.
So, have fun experimenting, modifying existing patterns or making up your own designs you are feeling adventurous. If you’d like an easy project for a starting point, my Lichen Mitts and Lichen Cowl are great candidates for working Cobnut Stitch texture — I’ll pop links below.

Lichen Cowl & Mitts
Available via my Ravelry store:
Alternatively you can purchase any of my patterns via Lovecrafts
NB - I knitted these in Rowan Alpaca Colour DK which is now discontinued, but as it’s a standard dk weight it’s easy to find a good alternative - read this blog, or you can also visit yarnsub.com for help finding something suitable to buy or raid from your stash. You may also be a be able to source some Alpaca Colour DK on market places like eBay.
Over to you
Have you knitted Cobnut/Hazelnut Stitch before? If you try a swatch, I’d love to hear:
any successes (or disasters) with swatching it!
other ways you might play around with the stitch?
what you think you’d use this stitch for ?
And if there’s another textured stitch you want me to cover in a future Stitch Expedition, leave me a suggestion.
Happy creating!
If you've enjoyed reading this post, why not sign up below for news of further posts and updates?